4 Ways to Crochet into a Starting Chain
One of the ways to start a crochet project is to use a starting chain. Though I must admit I’m always glad once the crocheting into the first row is done. There is a way of crocheting the starting chain and the first row at the same time which I will talk about in a future post.
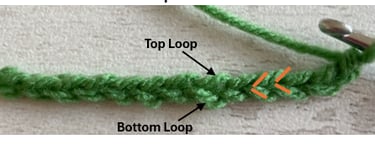
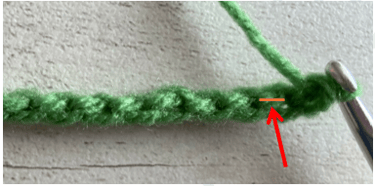
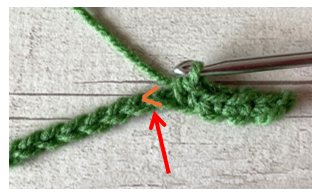
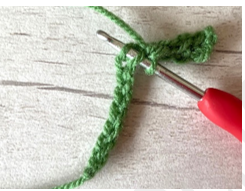
The chain below contains 13 chain stitches If you look closely at the starting chain, you will see three loops – two on the front and one on the back. The front top and bottom loops form a sideways ‘V’ shape on the front of the chain as shown below.
The chain below contains 13 chain stitches If you look closely at the starting chain, you will see three loops – two on the front and one on the back. The front top and bottom loops form a sideways ‘V’ shape on the front of the chain as shown below.
Front Top and Front Bottom Loops
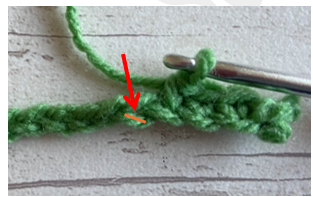
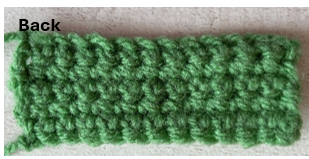
The back bump loop forms a ridge in the middle of the stitch on the back side of the chain of V stitches as shown below.
Back Bump
There are different ways to work into a starting chain. When I first started to crochet, I didn’t know if I was meant to insert my hook into the top loop or the bottom loop on the front, and I had never even heard of the ‘back bump’. There are many ways to work into the starting chain. None are right or wrong, just different.
In my experience whilst the odd pattern will specify one method, many will not. Until recently my default method had been to insert my hook under the front top loop of the chain. More recently I have started to use the back bump unless a pattern tells me otherwise. For me, the back bump method provides the cleanest and most professional looking edge.
Each method of working into the front top loop, front bottom loop or the back bump will produce slight differences in how the bottom edge will look. This is explored further below.
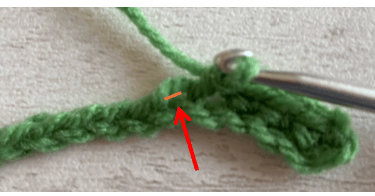
1. Crochet through the Front Top Loop
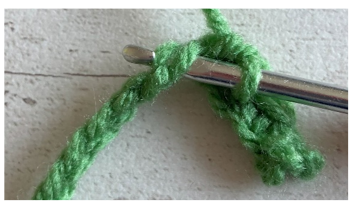
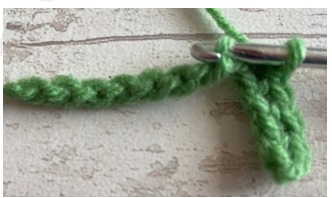
This method is how a lot of beginners to crochet start as it’s the easiest loop to see and pick up. The hook is inserted through the top loop as shown below (this means the top loop only is picked up by the hook).
This method leaves two loops at the bottom edge of the crochet fabric (the front bottom loop and back bump).
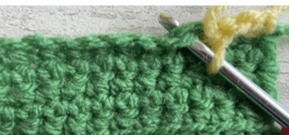
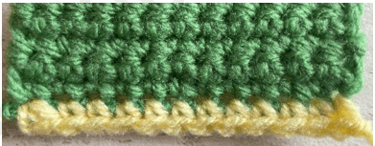
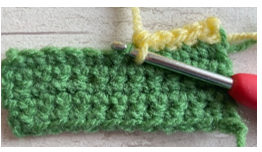
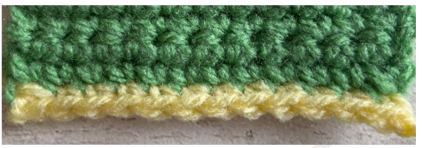
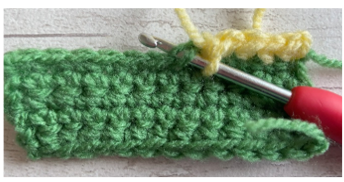
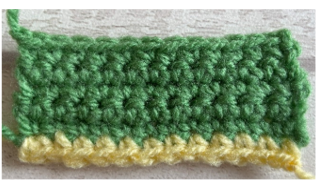
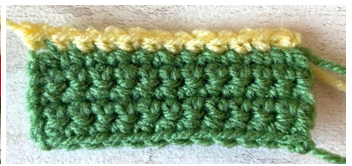
Working through the top loop only can leave the work gappy and more open between the starting chain and the first row. If a border is added, these holes can be exacerbated as shown below. But depending on what you are making this might work well or maybe not even bother you.
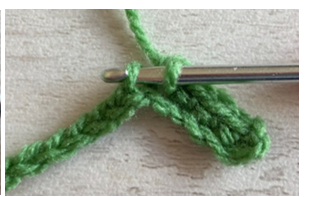
2. Crochet through the Front Top Loop and Back Bump
For this method the hook is inserted into the bottom loop as shown below (this means the top loop and back bump are picked up by the hook).
This method leaves one loop at the bottom edge of the crochet fabric (the front bottom loop). This works up tighter than I thought it would and keeps its shape well even when a border is added.
Working through the bottom loop only is easier than working into the back bump and makes an edge that is denser than others.
3. Crochet through the Back Bump
As we’ve already seen, the back bump (sometimes called the back ridge) is on the back side of the chain. The hook is inserted through the back bump as shown below (this means the front top and bottom loops are left to make the bottom edge).
Working through the back bump can be a little tricker than the other two methods as the back bump loop is smaller. As you work along the back bumps of the foundation chain it can pull the slack from the remaining chains. You may find it useful to create the starting in chain in a larger hook size than you use for the rest of the crochet piece.
This method leaves two loops at the bottom edge that looks very similar to the top edge.
As the starting edge matches the bottom edge this method is useful if you don’t plan to add an edging border to your work. The row of clear V stitches it creates are great to crochet into if you decide to add a border.
4. Crochet into the Two Front Loops
For this method the hook is inserted under the front bottom and front top loops of the V as shown below (this means the two front loops are picked up by the hook). It can be tricky to get your hook in the correct place but the back bump should be underneath your hook.
This method leaves one loop (the back bump loop) at the bottom edge of the crochet fabric.
This method leaves a neat row of single stitch bumps along the bottom edge which can be left raw or used to crochet a border. However, I do find the stitches can be quite tight and tricky to get your hook through when adding a border.
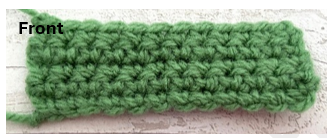
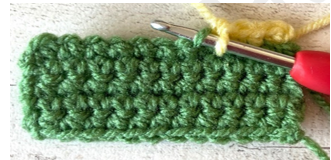
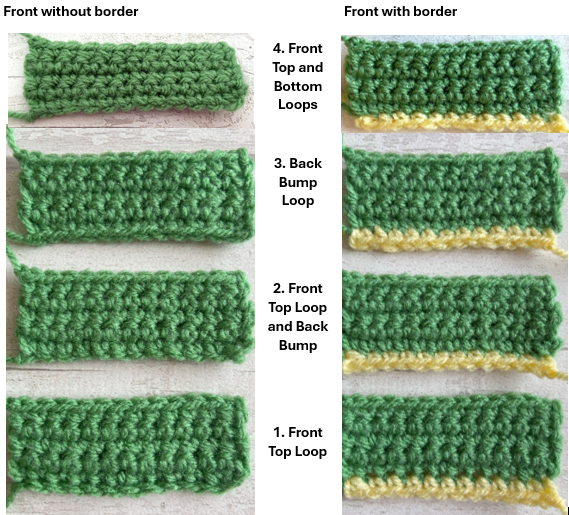
So, they were the different ways I crochet into a chain. There is no right or wrong way, it is down to personal preference and how you want your finished work to look. I hope that was useful. See below for a picture comparison of each method. Let me know if you have any questions!
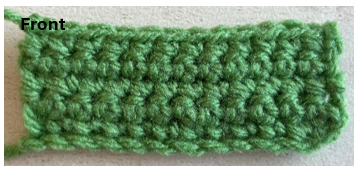
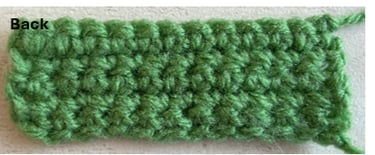
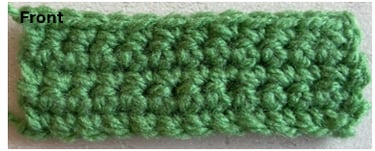
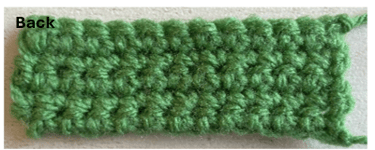
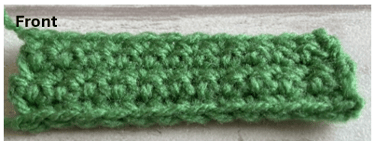
The swatches below show the results of using each method.

