

What You Will Need
Stylecraft Special Aran or your preference of aran/worsted weightyarn.
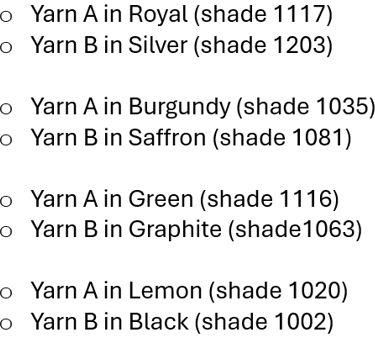
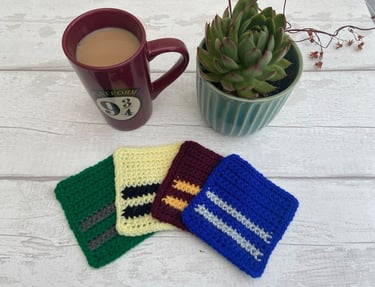
Colour combinations used here in Stylecraft Special Aran are:
Hook size 4mm (G-6)
Scissors
Yarn needle (to weave in yarn ends)
Stitch markers
Measurements
The actual size of your coaster will depend on your crochet (how tightly you crochet). As a guide:
· Finished coaster size: 11cm long x 11cm wide.
· Guage: 8 sts and 9 rows = 5cm x 5cm square using dc.
Stitches and Abbreviations
This pattern uses UK crochet terms throughout. Click here for a conversion table of UK and US term.
Yarn A – main colour
Yarn B – contrast stripe colour
ch – chain stitch
dc – double crochet
rs – right side
slst – slip stitch
sts - stitches
ws – wrong side
yoh – yarn over hook
Notes
The chain one at the beginning of each row does not count as a stitch. Apart from row 1, all rows begin in the stitch directly under the ch1.
All odd numbered rows are worked on the wrong side.
All even numbered rows are worked on the right side.
Always ensure yarn is kept to the wrong side of the work after colour changes and when not in use.
Work stitches over any carried yarn.
You may find it helpful to put stitch markers in the first and last stitches of a row.
Double Crochet Stitch
Insert hook into stitch, yoh, draw through stitch (2 loops on hook), yoh and draw through both loops on hook.
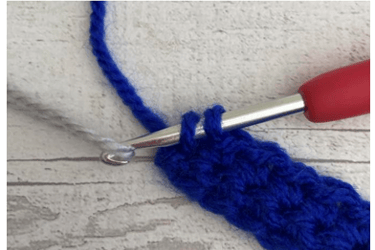
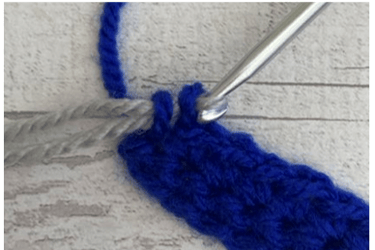
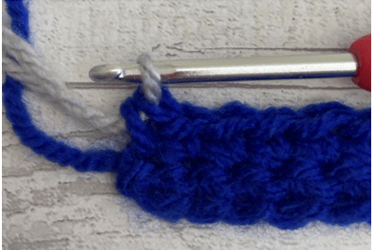
Colour Change
Always change colours in the last pull through of the previous stitch. Do not cut yarn after colour changes unless stated in the pattern.



Pattern
Main Body
Using Yarn A and 4mm (G-6) hook, loosely ch14 + 1 for turning.
Row 1 (ws) Starting in the second chain from the hook, work 14dc along the chain (14 stitches). Ch1 and turn.
Continue following the pattern working dc for every stitch. ch1 and turn at the end of each row, maintaining 14 stitches throughout. ch1 does not count as a stitch. All rows begin in the stitch directly under the ch1.
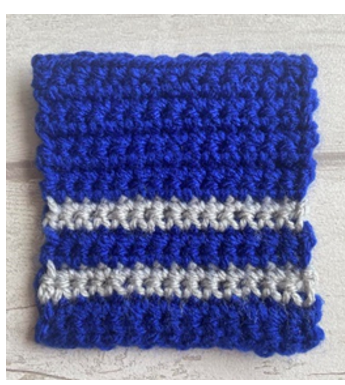
Row 2 (rs) 14 dc to end of row. Change colour to Yarn B on the last stitch of the row. Drop Yarn A but do not cut off. Ch1 and turn.
Row 3 (ws) 14 dc to end of row. Ch1 and turn.
Row 4 (rs) 14 dc to end of row. Pick up Yarn A from end of row 2 and change colour to Yarn A on the last stitch of the row. Drop Yarn B. Ch1 and turn.
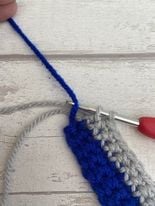

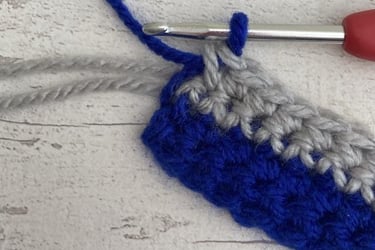

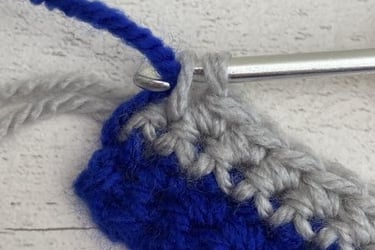

Row 5 (ws) 14 dc to end of row. (14 stitches). Ch1 and turn.
Row 6 (rs) 14 dc to end of row. Pick up Yarn B from end of row 4 and change colour to Yarn B on the last stitch of the row. Drop Yarn A. Ch1 and turn.
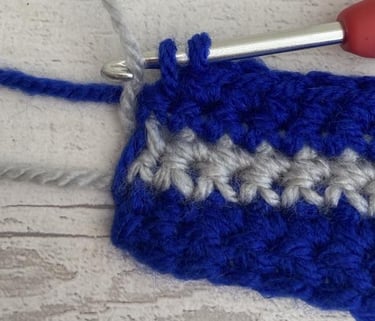

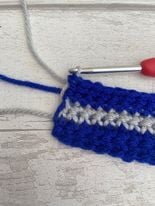

Row 7 (ws) 14 dc to end of row. (14 stitches). Ch1 and turn.
Row 8 (rs) 14 dc to end of row. Pick up Yarn A from end of row 6 and change colour to Yarn A on the last stitch of the row. Drop Yarn B and cut off, leaving a tail to sew in the end. Ch1 and turn.
Rows 9 - 15 14 dc to end of row. Ch1 and turn.
Row 16 (rs) 14 dc to end of row. Fasten off Yarn A and cut yarn leaving a tail to sew in the end.
Sew in all ends to secure.

Edging Border
1. With the right side of your work facing up, slip stitch Yarn A into any stitch at the top of your coaster.
2. dc all around the edge of the main body of the coaster.
For the left- and right-hand sides of the main body of the coaster place 1dc in each row end.
For the corners place 3dc in each corner stitch.
3. sl st join into the 1st dc made for the border. Fasten off yarn and weave in all ends.
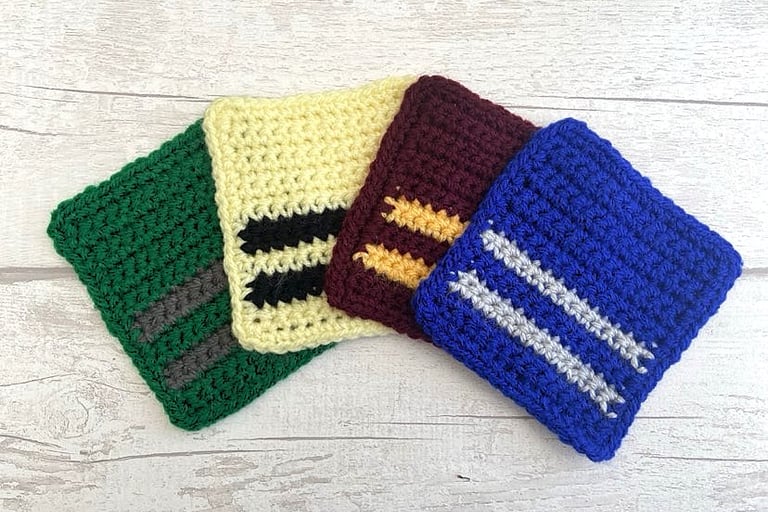

Your Scarf Coaster is complete! I hope you enjoyed this project and found the pattern easy to follow. I would love to see your finished coaster, so share a picture on social media by tagging @scattiecrochet. If you have any questions or suggestions, please feel free to email me at scattiecrochet@yahoo.com
