Written in UK terms, this England flag bunting crochet pattern uses double crochet (dc) and double crochet decrease (dc2tog) throughout. The US terminology equivalents are single crochet (sc) and single crochet decrease (sc2tog) respectively. See the conversion table of UK and US terms here.
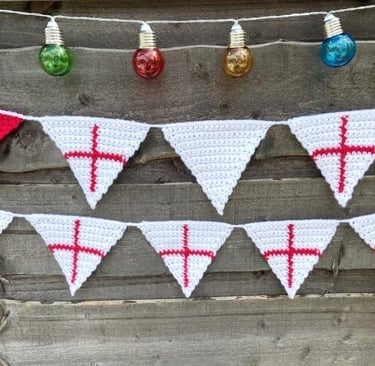
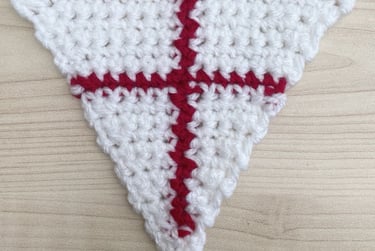
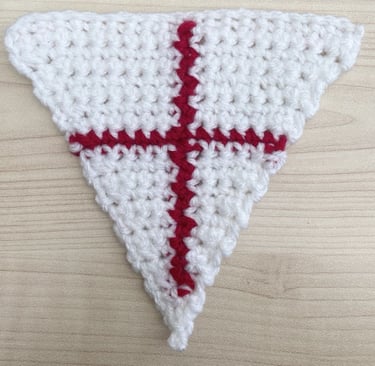
This crochet bunting décor is easy to create and really does enhance celebrations, whatever the occasion. This bunting can be used to show support for a range of England’s sports from football to the Olympics, for St George’s day celebrations, or even create in different colours to suit any occasion.
Copyright Scattie Crochet. All rights reserved. This crochet pattern and images/pictures are the property of Sarah Catterall at Scattie Crochet. Please do not copy, alter, or sell the pattern or claim this pattern as your own. The bunting you make following this pattern are yours and you are free to sell them, however, it would be appreciated if you would credit Scattie Crochet in your listing.
What You Will Need
Stylecraft Special Aran (or your preference of aran/worsted weight yarn). I used:
o Yarn A in white (1001) approx. 14.6m / 1g
o Yarn B in Lipstick (1246) approx. 2.22m / 7g
Crochet hook size 5mm (H-8)
Scissors
Yarn needle (to weave in yarn ends)
Stitch markers
Measurements
Finished bunting 1 triangle: 15cm wide x 14 cm long
Gauge: 7 sts and 8 rows = 5cm x 5cm.
Stitches and Abbreviations
This pattern uses UK crochet terms throughout. For US terms, replace the dc stitches with sc stitches.
Click Here for a conversion table of UK and US terms.
Yarn A – main colour white
Yarn B – cross colour lipstick red
ch – chain stitch
dc – double crochet
dc2tog – double crochet two together (decrease)
rs – right side
st(s) – stitch(es)
ws – wrong side
yoh – yarn over hook
Notes
The chain one at the beginning of each row does not count as a stitch.
Apart from row 1, all rows begin in the stitch directly under the ch1.
All odd numbered rows are worked on the right side.
All even numbered rows are worked on the wrong side.
Always ensure yarn is kept to the wrong side of the work after colour changes and when not in use.
Work stitches over any carried yarn.
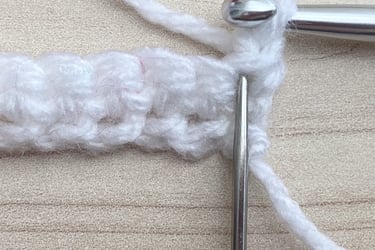
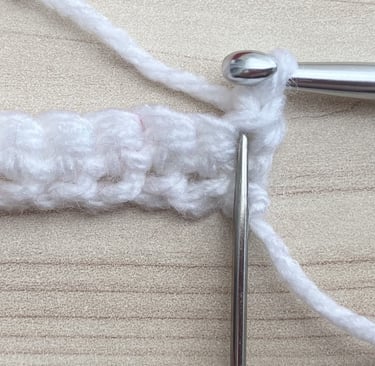
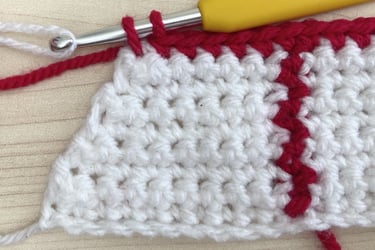
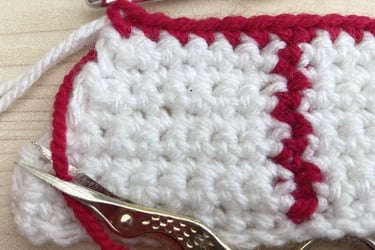
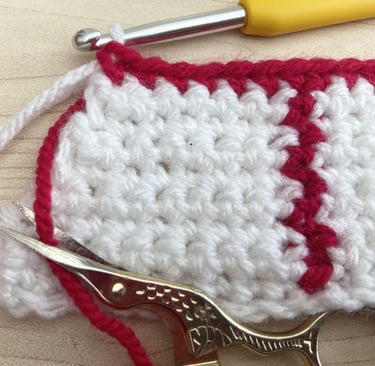
The bunting triangle is worked from the top down.
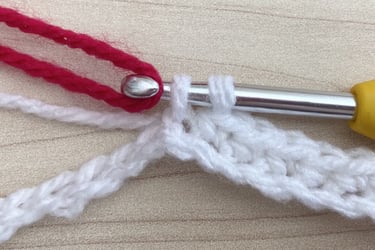
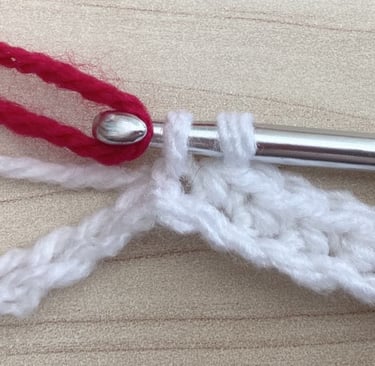
Colour Change
Always change colours in the last pull through of the previous stitch. Do not cut yarn after colour changes unless stated in the pattern.

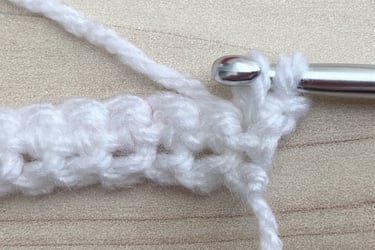
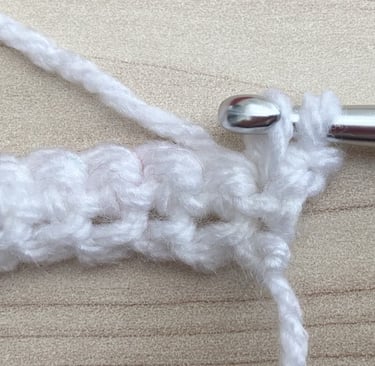
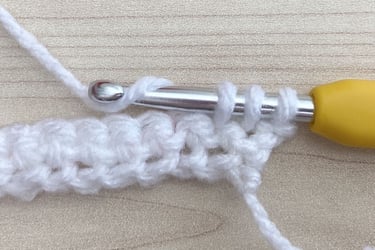
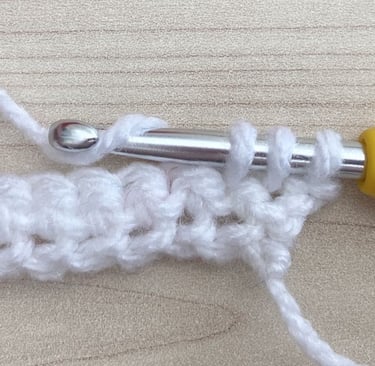
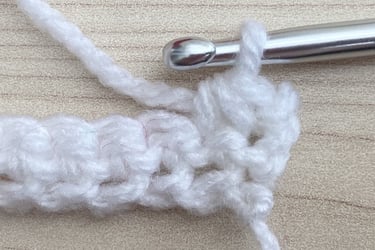
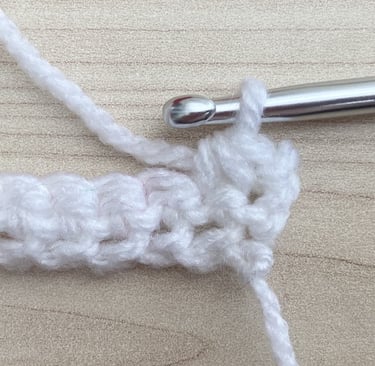
Double Crochet Stitch
Insert hook into stitch, yoh, draw through stitch (2 loops on hook), yoh and draw through both loops on hook.
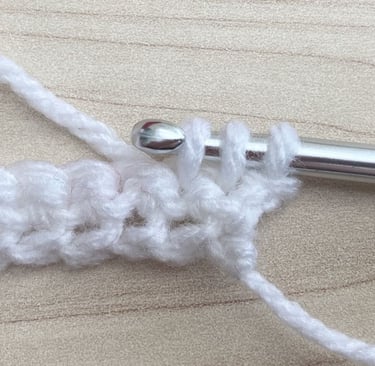
Double Crochet 2 Stitches Together (dc2tog)
Insert hook into the first stitch, yoh, draw yarn through stitch (2 loops on hook). Then insert hook into the next stitch, yoh and draw yarn through stitch (3 loops on hook). Then yoh and draw yarn through all 3 loops on the hook.

Pattern
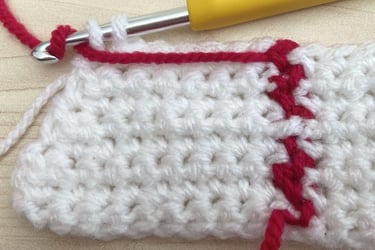
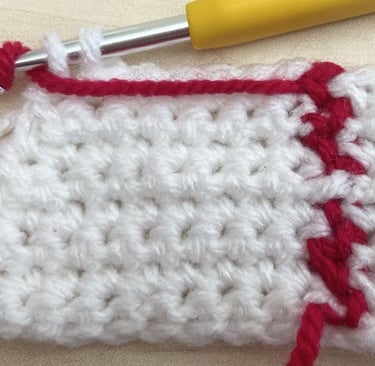
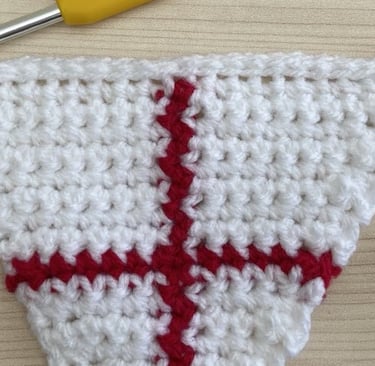
Below is the chart for one bunting triangle (21 stitches x 21 rows). 1 square is 1 dc. Begin in the bottom right-hand corner with stitch 1 and row 1.
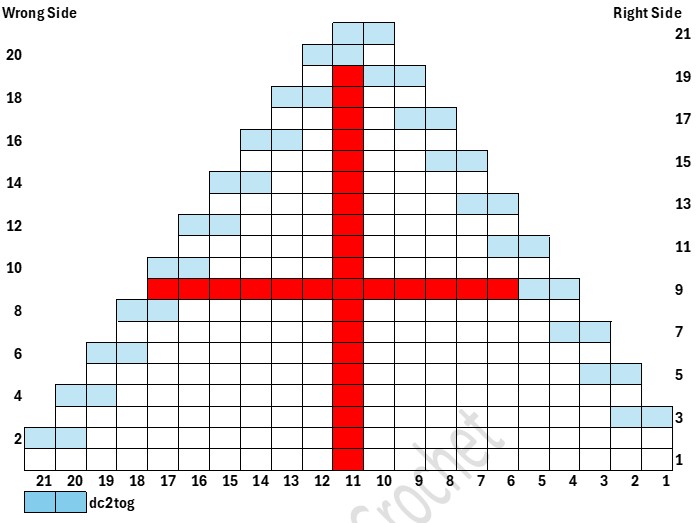
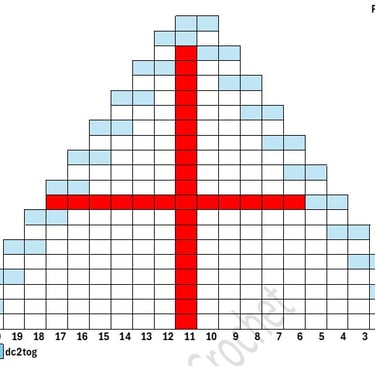
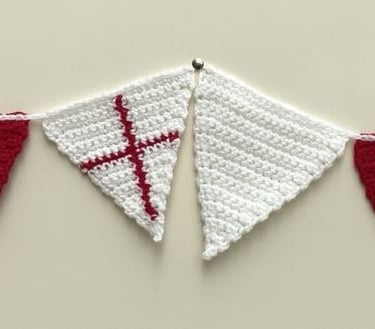
BUNTING TRIANGLE (White Background and Red Cross)
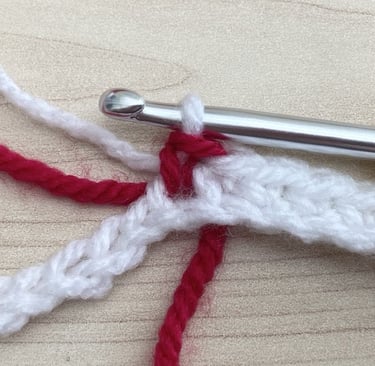
Using yarn A and 5mm hook, ch21 +1 for turning.
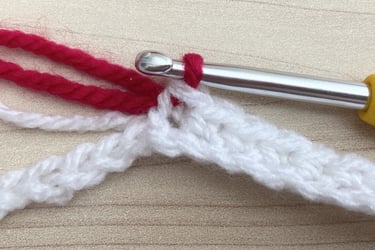
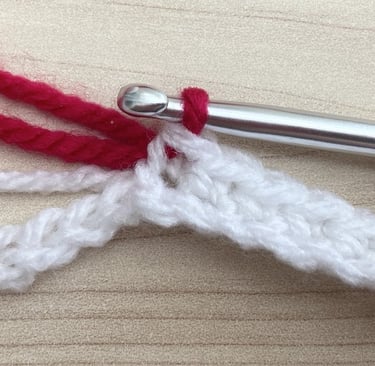
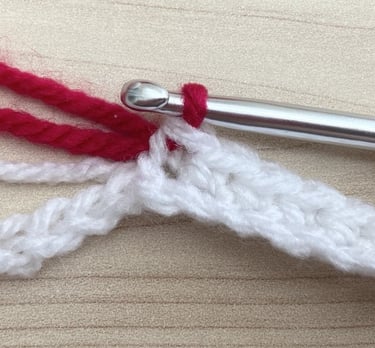
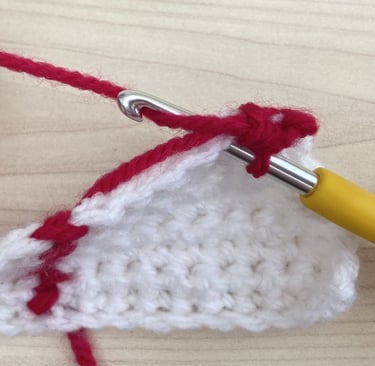
Row 1 (rs) Starting in the second chain from the hook, work 10dc, then colour change to yarn B in the last pull through of the 10th dc. Work 1dc in the red yarn B and colour change to yarn A in the last pull through of this stitch. Then work 10dc to end. (21 stitches). Ch1 and turn.
Row 2 (ws) Starting in the first stitch directly underneath the ch1, dc2tog, then work 8dc, changing to yarn B in the last pull through of the 8th dc. Work 1dc in the red yarn B and colour change to yarn A in the last pull through of this stitch. Then work 10dc to end. (20 stitches). Ch1 and turn.
Row 3 (rs) Starting in the first stitch directly underneath the ch1, dc2tog, then work 8dc, changing to yarn B in the last pull through of the 8th dc. Work 1dc in the red yarn B and colour change to yarn A in the last pull through of this stitch. Then work 9dc to end. (19 stitches). Ch1 and turn.
Rows 2 and 3 make up the repeat pattern for rows 4 to 7 with the following stitch number changes:
Row 4 (ws) Yarn A, dc2tog, 7dc. Yarn B, 1dc. Yarn A, 9dc (18 stitches). Ch1 and turn.
Row 5(rs) Yarn A, dc2tog, 7dc. Yarn B, 1dc. Yarn A, 8dc (17 stitches). Ch1 and turn.
Row 6 (ws) Yarn A, dc2tog, 6dc. Yarn B, 1dc. Yarn A, 8dc (16 stitches). Ch1 and turn.
Row 7 (rs) Yarn A, dc2tog, 6dc. Yarn B, 1dc. Yarn A, 7dc (15 stitches). Ch1 and turn.
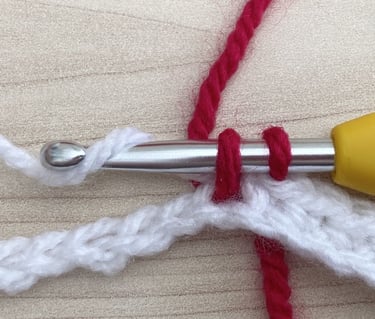
Row 8 (ws) Starting in the first stitch directly underneath the ch1, dc2tog, then work 5dc, changing to yarn B in the last pull through of the 5th dc. Work 1dc in the red yarn B and colour change to yarn A in the last pull through of this stitch. Then work 7dc to end and colour change to yarn B in the last pull through of the last stitch by carrying yarn B across the back of your work. Cut off Yarn A leaving a tail to weave in.
(14 stitches). Ch1 and turn.
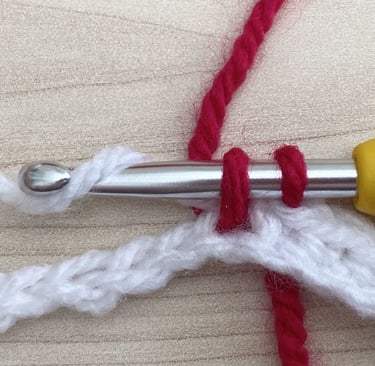
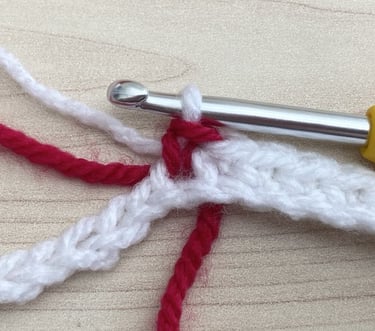
Row 9 (rs) Starting in the first stitch directly underneath the ch1, dc2tog, then work 12dc to end, trapping the carried red yarn from the previous row (within the first dc2tog and 5dc). Colour change to yarn A in the last pull through of the last stitch. Cut off Yarn B leaving a tail to weave in (13 stitches). Ch1 and turn.

Rows 2 and 3 make up the repeat pattern for rows 10 to 19 with the following stitch number changes:
Row 10 (ws) Yarn A dc2tog, 4dc. Rejoin yarn B, 1dc. Yarn A, 6dc (12 stitches). Ch1 and turn.
Row 11 (rs) Yarn A, dc2tog, 4dc. Yarn B, 1dc. Yarn A, 5dc (11 stitches). Ch1 and turn.
Row 12 (ws) Yarn A, dc2tog, 3dc. Yarn B, 1dc. Yarn A, 5dc (10 stitches). Ch1 and turn.
Row 13 (rs) Yarn A, dc2tog, 3dc. Yarn B, 1dc. Yarn A, 4dc (9 stitches). Ch1 and turn.
Row 14 (ws) Yarn A, dc2tog, 2dc. Yarn B, 1dc. Yarn A, 4dc (8 stitches). Ch1 and turn.
Row 15 (rs) Yarn A, dc2tog, 2dc. Yarn B, 1dc. Yarn A, 3dc (7 stitches). Ch1 and turn.
Row 16 (ws) Yarn A, dc2tog, 1dc. Yarn B, 1dc. Yarn A, 3dc (6 stitches). Ch1 and turn.
Row 17 (rs) Yarn A dc2tog, 1dc. Yarn B, 1dc, Yarn A, 2dc (5 stitches). Ch1 and turn.
Row 18 (ws) Yarn A dc2tog, changing to yarn B on the pull through of the 3 loops of the dc2tog. Yarn B, 1dc. Yarn A, 2dc (4 stitches). Ch1 and turn.
Row 19 (rs) Yarn A dc2tog, changing to yarn B on the pull through of the 3 loops of the dc2tog. Yarn B, 1dc. Yarn A, 1dc (3 stitches). Cut off yarn B leaving a tail to weave in. Ch1 and turn.
Row 20 (ws) Yarn A dc2tog, 1dc (2 stitches). Ch1 and turn.
Row 21 (rs) Yarn A dc2tog in remaining 2 stitches, (1 stitch).
Fasten off. Weave in all ends.
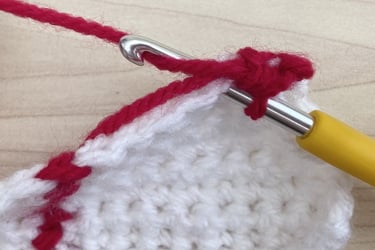
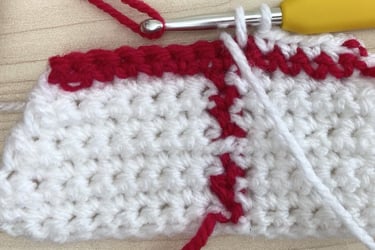
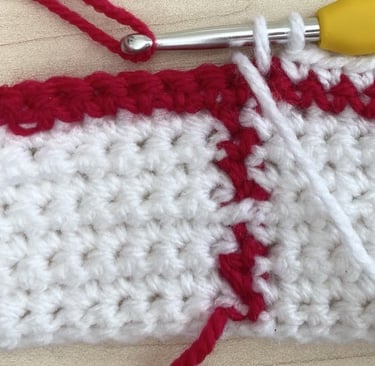
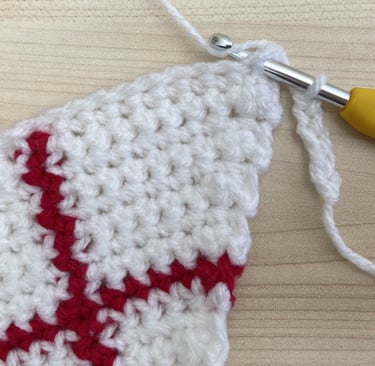
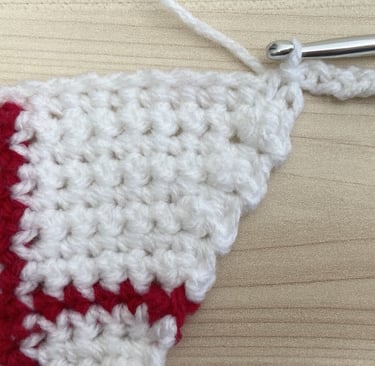
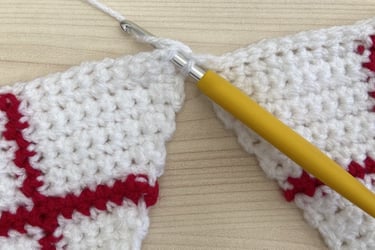
JOINING TOGETHER
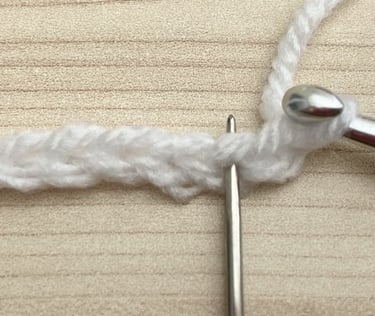
1. Using yarn A and 5mm hook ch5.
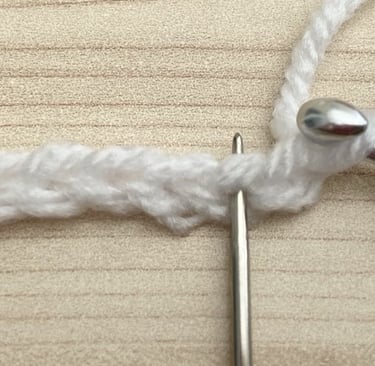
2. With the right side of the bunting triangle facing upwards, slip stitch into the first stitch on the right of the top edge of the triangle.
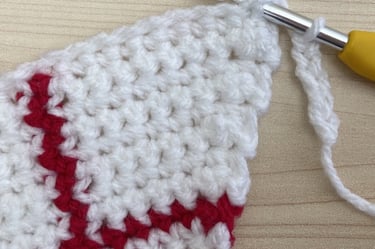
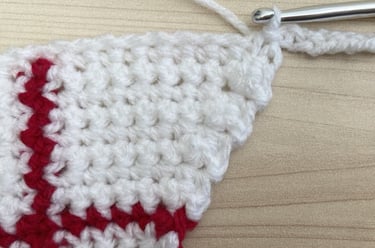
3. Continue to slip stitch along the top edge of the bunting triangle.
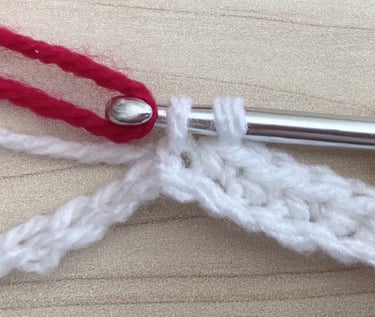
4. Ch 2 and repeat points 2. & 3. To attach another bunting triangle.
5. Repeat points 2. to 4. above until your bunting is the desired length and then chain 5 to finish off.
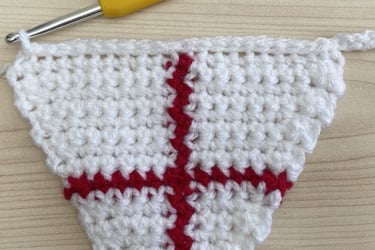

NB. The bunting triangles can also be made in plain colours. I made red ones and white ones in the one colour. Follow the pattern above but use one yarn colour only and omit the colour changes.
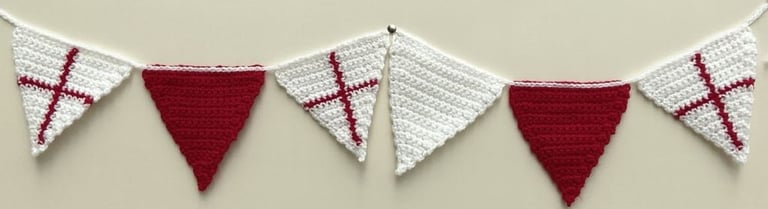
Your England flag bunting is complete! I hope you enjoyed this project and found the pattern easy to follow. I would love to see your finished bunting, so share a picture on social media by tagging @scatticreativecrochet. If you have any questions or suggestions, please feel free to email me at scattiecrochet@yahoo.com
Follow me on Instagram and Facebook for more crochet news and patterns.